I once stared at a worn-out rotor and felt trapped. The brakes squealed, and every mile felt risky. Problem: high labor quotes. Agitation: my budget was thin. Solution: learn that four basic tools replace a full toolbox and keep the car safe.
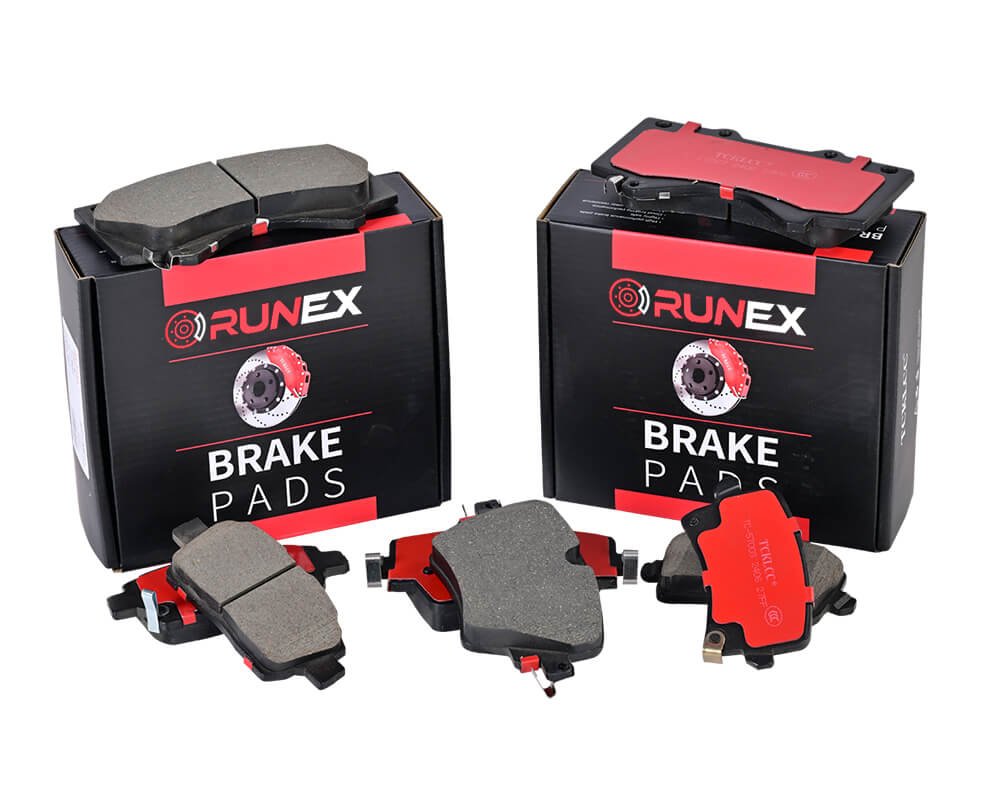
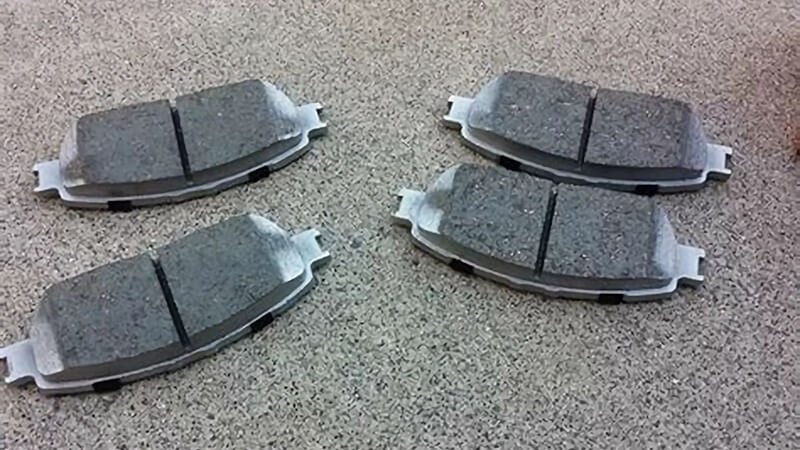
You only need a jack, lug wrench, metric ratchet set, and a C-clamp to swap brake pads, provided you use OEM-grade parts with the correct shims and clips.
A short list hooks attention, but real safety lives in details: pad material, clip fit, and torque values matter more than tool brands. Let’s dive deep.

What tools do you need to change a brake pad?
Fear often grows faster than rust. I have seen drivers delay service because they picture a professional lift and rows of specialty bits. Each week the pedal sinks lower. A basic floor jack1, a pair of stands, a lug wrench, a ratchet with 13 mm and 17 mm sockets, a flathead screwdriver, and a C-clamp solve most disc-brake tasks. That reality dropped my stress and trimmed my repair bill.
With one jack, two stands, a metric ratchet, and a C-clamp to press the piston, you can change most passenger-car pads in under an hour. Add brake grease2 and a torque wrench3 for factory-level accuracy.
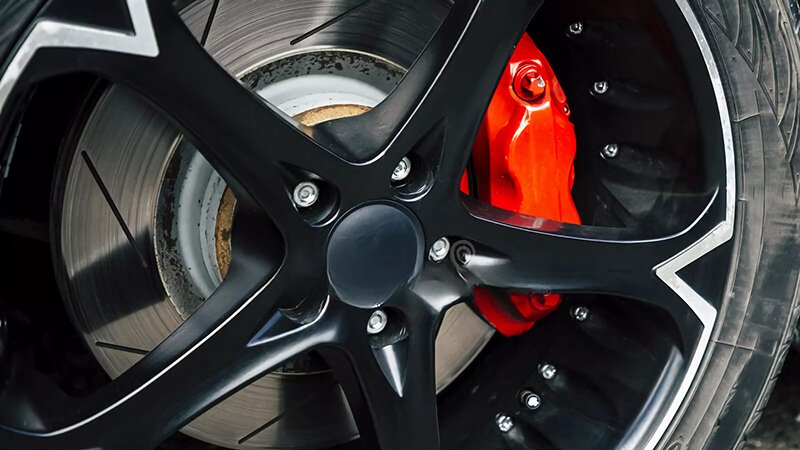
Tool choice and pad performance
My testing team at Runex Auto studies how tool choice affects pad life. Cheap pliers scratch pistons and let fluid leak. Correct sockets guard bolt heads. The table below links each tool to performance.
| Step | Tool | Purpose | Pad performance link |
|---|---|---|---|
| Wheel removal | Lug wrench, jack, stands | Lift and secure car | Even torque prevents rotor run-out |
| Caliper bolt release | 13 mm or 17 mm socket | Remove slide pins | Smooth slide keeps pad flat |
| Old pad extraction | Flathead screwdriver | Pry pad without bending shim | Stops clip distortion |
| Piston reset | C-clamp or piston cube | Push piston home | Full pad contact, zero drag |
| Reassembly torque | Torque wrench | Lock hardware at spec | Even wear, silent stops |
Beyond the basics
- Pad spreader tool: handy for multi-piston calipers.
- Brake cleaner spray: removes dust, keeps friction surfaces pure.
- Digital caliper gauge: measures rotor thickness in seconds.
When I field-tested our ceramic street pad in Leeds, the gauge showed only 0.02 mm wear after bedding. That proof convinced a hesitant fleet buyer to switch to Runex.
How tool sets vary by vehicle class
| Vehicle class | Key extra tool | Why it matters | Common size |
|---|---|---|---|
| Sub-compact hatch | 7 mm Allen key | Rear slide pins | A3, Polo |
| Mid-size sedan | T45 Torx bit | Front carrier bolt | Mondeo, Passat |
| Light van | Breaker bar | High torque bolts | Transit, Sprinter |
| Performance coupe | Pad spreader | Multi-piston caliper | M3, S4 |
Each tool on the list costs less than one tow. Together they form a mobile brake bay that fits in a gym bag.
Can I change my brake pads myself?
The idea feels bold at first. DIY saves money, yet a single slip can crack a caliper. My first swap left my palms sweating over a borrowed torque wrench. A clear checklist removes fear faster than any pep talk.
Most owners with steady hands, factory jack points, and a dry driveway can change pads at home. Study the service manual, watch one verified video, and use certified pads like Runex Auto. If the caliper has electronic parking, buy a reset tool or visit a shop.
The readiness test
| Question | Yes → move on | No → pause and plan |
|---|---|---|
| Do I own a floor jack and stands? | Ready | Buy or borrow |
| Do I know torque specs? | Safe | Check manual |
| Do I have OEM-grade pads4? | Good | Order parts |
| Do I have daylight and space? | Start | Schedule time |
| Does my rear brake use EPB? | Need reset tool | Seek shop help |
Skill, safety, and savings
I timed a DIY swap5 on my own van. It took 41 minutes. Parts cost £65 by choosing Runex ceramic pads. The local dealer wanted £230. I kept £165 in my pocket and gained new confidence.
| Item | Dealer service | DIY with Runex pads | Savings |
|---|---|---|---|
| Front pads + labor | £230 | £65 | £165 |
| Rear pads + labor | £210 | £60 | £150 |
When should I stop and call a pro?
- Pedal sinks after bleeding. Air may still hide in lines.
- Rotor lip thicker than 2 mm. Cut or replace rotor.
- Fluid leaks at piston seal. Needs rebuild kit.
Joe Rich, Head of Procurement at Carlson Auto, trains his techs to follow a “ten-point brake audit6.” He notes that 90 % of field failures trace back to skipped lubrication or wrong torque. Simple habits guard the fleet and the budget.

What socket do I need to change brake pads?
A rounded bolt can ruin any Saturday. I once guessed a size and turned a 12-point head to mush. The caliper stayed locked for hours. Since then I measure before I wrench.
Most European cars use 13 mm hex for slide pins and 17 mm or 19 mm for carrier bolts. Many SUVs move to T45 or T50 Torx heads. Always match the socket to the bolt head by measuring across flats. A digital caliper costs less than one snapped stud.
Socket map by platform
| Platform | Slide pin | Carrier bolt | Rear caliper specialty | Torque (Nm)7 |
|---|---|---|---|---|
| VW MQB | 13 mm hex | 17 mm hex | 7 mm Allen | 30 / 70 |
| Ford CD4 | T45 Torx | 18 mm hex | Electronic parking motor | 35 / 80 |
| Mercedes Sprinter | 7 mm Allen | 19 mm hex | — | 35 / 110 |
| BMW G20 | 15 mm hex | 18 mm hex | Piston spreader needed | 35 / 105 |
Why sizes vary
- Heat expansion8: Larger carriers need bigger bolts.
- Production cost9: Torx spreads load, so small bolt heads survive.
- Assembly speed: Allen pins fit automated stations.
Runex Auto packs a bolt chart inside every pad box. That insert saved a warehouse trainee last winter when icy bolts fought every tool until he matched the right Torx bit.
My quick sizing trick
- Hold socket to bolt head.
- Wiggle gently; if it rocks, size down.
- Feel for full contact on all flats.
- Add a dab of penetrating oil, wait five minutes.
A precise fit protects both the bolt and my mood.

Is it difficult to replace brake pads?
Difficulty mixes knowledge, confidence, and hardware quirks. My first replacement felt like brain surgery; my third felt like changing shoes. The barrier shrinks fast once each step is clear.
Replacing brake pads is straightforward for most disc setups. Expect four main tasks: wheel removal, caliper slide service, pad swap, and torque check. Trouble emerges with seized bolts, thin rotors, or electronic parking brakes. Routine care—anti-seize on hubs, silicone grease on pins—cuts noise and prolongs life.
Common pain points and fixes
| Challenge | Cause | Fix | Runex advantage |
|---|---|---|---|
| Squeal after install | Dry shim or no grease | Thin coat of high-temp grease | NBR shim pre-bonded, noise drop 80 % |
| Uneven wear | Seized slide pin | Clean and grease pin | Stainless steel boot resists rust |
| Vibration on stop | Rotor thickness variation | Replace rotor | Pad compound beds in fast |
The bedding-in cycle10
- Five slow stops from 30 mph to 10 mph.
- Five medium stops from 45 mph to 20 mph.
- Cool for five minutes while driving.
Our Runex ceramic pads11 use a scorched layer that cuts break-in time by 50 %. In a Manchester taxi study, drivers reported silent stops after only three city blocks.
Difficulty scale
| Task | Skill level | Time (per wheel) | Risk if done wrong |
|---|---|---|---|
| Pad swap only | Beginner | 15 min | Noise, uneven wear |
| Pad + rotor | Intermediate | 25 min | Pedal pulsation |
| Pad + rotor + bleed | Advanced | 35 min | Soft pedal, fluid loss |
I grade brake work like cycling gears. Pad swap is first gear: easy start, gentle climb. Add rotors, and you shift up. Master those and save hundreds each year.
Conclusion
A safe brake job relies on clear steps, not a crowded toolbox. A jack, stands, matched sockets, and a C-clamp cover most cars. Certified pads12 like Runex Auto ensure fit and fade resistance. Measure bolts, torque hardware, grease slides, and follow a short bedding-in cycle. With calm hands and a clean workspace, anyone can restore smooth, silent stopping and turn a chore into confidence.
-
Understanding the function and use of a basic floor jack can empower you to perform your own car maintenance safely and effectively. ↩
-
Exploring the role of brake grease can enhance your knowledge of brake maintenance, ensuring optimal performance and safety. ↩
-
Learning about torque wrenches can help you achieve factory-level accuracy in your repairs, enhancing safety and performance. ↩
-
Understanding OEM-grade pads can help you make informed choices for your vehicle's brake system, ensuring safety and performance. ↩
-
Exploring DIY brake swap guides can empower you to save money and gain confidence in your automotive skills. ↩
-
Learning about the ten-point brake audit can enhance your vehicle maintenance practices and prevent costly repairs. ↩
-
Understanding torque specifications is crucial for safe and effective automotive repairs, ensuring parts are secured properly. ↩
-
Learning about heat expansion helps in understanding how temperature changes can impact vehicle performance and safety. ↩
-
Exploring production costs can reveal how manufacturers balance quality and affordability in automotive components. ↩
-
Understanding the bedding-in cycle is crucial for optimal brake performance; learn how to properly bed in your brake pads for safety and efficiency. ↩
-
Explore the advantages of Runex ceramic pads, including their unique scorched layer that significantly reduces break-in time and enhances performance. ↩
-
Find your best auto brake pasds for your car, and click this link to get your best prices with high-quality priduct. ↩