I know brake problems feel small at first, then they grow fast. The pedal starts to feel soft. The car takes a bit longer to stop. The noise appears, then it gets louder. I help customers stop this cycle with clear, simple rules and tested brake pad choices.
You should replace your brake pads when the friction material is about 3 mm or less, when you hear constant squeal or grinding, or when you see warning indicators. I use a thickness gauge, listen for noise, watch for vibration, and track mileage and driving style to time changes.
I wrote this guide to make your decision fast and calm. I use plain steps. I bring data from our lab and real cases from the road. I also show what I check in every inspection so you can follow the same path.
When should car brake pads be replaced?
I see many drivers wait for the last moment. They try to save a little, and they risk a lot. The brakes start to squeal. The rotors get hot. The caliper sticks. The cost goes up. I want you to replace pads before you reach that point, not after.
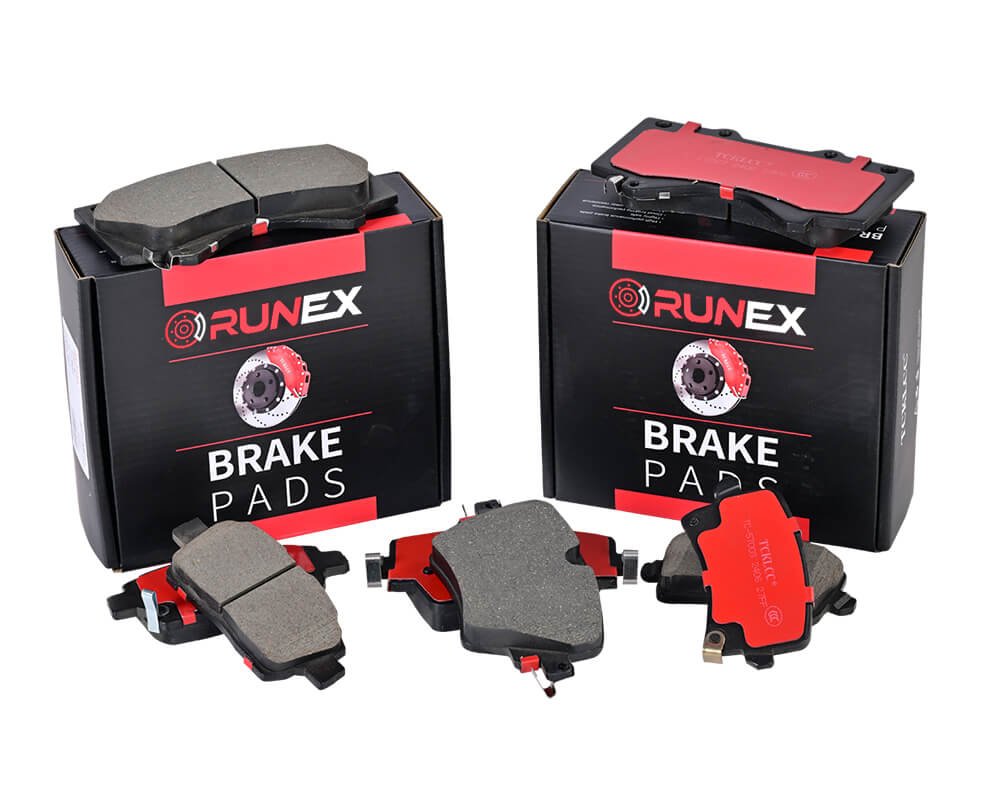
You should replace brake pads when pad thickness reaches around 3 mm, when noise is constant, when stopping distance grows, or when pedal feel changes. I also replace early if I see uneven wear, glazing, or heat cracks. With Runex Auto brake pads, I track quietness, bite, and wear rate to judge timing with data, not guesswork.
Dive deeper
I use a simple decision tree that I apply in my shop and in audits with fleets. It works because it uses four clear signals: thickness, sound, feel, and heat. I cross-check these signals with our Runex Auto lab results and field returns so I can trust the call.
Signs I trust first
- Thickness at or below 3 mm. I measure at the thinnest point on the inner pad.
- Squeal that stays after light braking. This points to wear indicators or glazing.
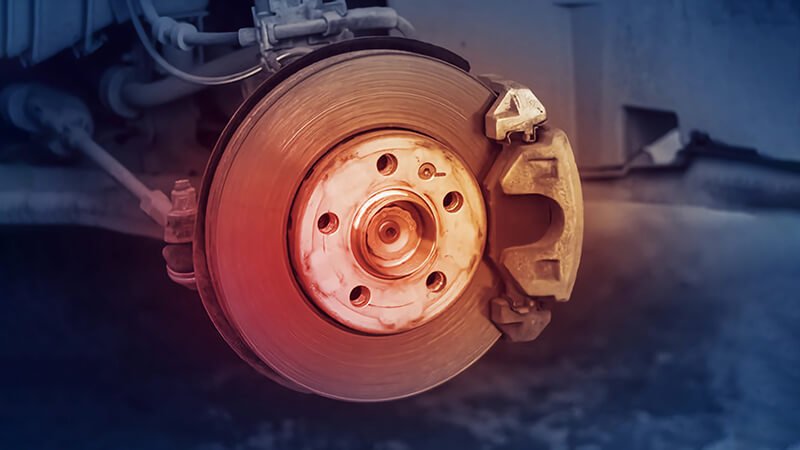
- Grinding noise. This often means metal contact. I replace pads and inspect rotors.
- Vibration under braking. This can be pad deposits or rotor issues. I check both.
- Pulling to one side. This can be a caliper slide issue. I look for uneven pad wear.
How I measure thickness
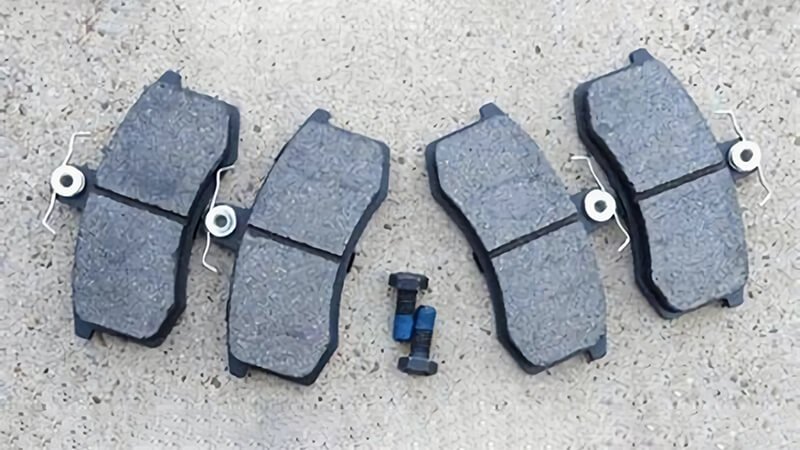
I use a brake pad gauge1 with mm steps. I never guess with a phone photo. I also measure both inner and outer pads because inner pads wear faster when slides stick. If the inner pad is 3 mm and the outer is 5 mm, I still replace the set and service the hardware.
Why 3 mm is the trigger
At 3 mm, the backing plate is close. Heat builds fast. The friction mix works less stable when it thins out. This is true even with strong mixes like our Runex Auto NAO and semi-metallic lines. Stopping distance can grow, and noise rises. So I draw a clear line at 3 mm.
What Runex Auto pads change
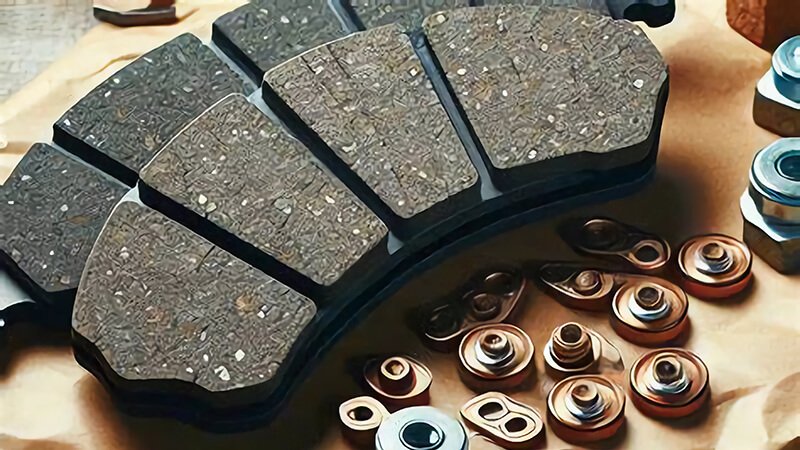
Our pads use OEM-grade friction mixes2. We design for low noise, smooth bite, and low dust. We use multi-layer shims and high-temp underlayers to slow heat transfer. This delays fade and keeps pedal feel stable as the pad gets thinner. Even so, I still replace at 3 mm. Safety first.
Quick reference table
| Signal | What I see | My action | Why |
|---|---|---|---|
| Pad ≤ 3 mm | Inner at 3 mm or less | Replace pads, service hardware | Avoid rotor damage and fade |
| Squeal | Persistent high-pitch | Inspect, likely replace | Wear indicator or glazing |
| Grinding | Metal-on-metal | Stop use, replace pads and inspect rotors | Backing plate contact risk |
| Vibration | Pulsation at speed | Check rotors and pad deposits | Heat spots or DTV |
| Pulling | Car veers on brake | Inspect slides and hoses | Uneven clamping force |
I learned this path after a customer came in with repeat noise and shake. They tried to wait. They changed only the pads once with a budget brand. The noise came back. We checked their pads. They were thin and glazed. We installed Runex Auto pads3 with new hardware. The car stopped quiet and smooth. The issue did not return.

How do I know if my brake pads need replacing?
I know you do not want to take the wheels off every month. You want easy checks that work in your driveway. You want simple steps you can trust. I keep a short list that works for me and my team, and it saves time.
You can tell your brake pads need replacing when the pad is near 3 mm, when you hear wear indicators, when you feel vibration, or when the car takes longer to stop. You can check visually through the wheel, use a simple gauge, or track mileage. I always verify with a quick road test and a wheel-off inspection if I see any red flags.
Dive deeper
I use three levels of checks: quick, basic, and full. I pick the level based on the symptom. If I hear squeal, I start with a quick check. If I feel vibration, I go deeper. If the car pulls or the pedal sinks, I go full. This saves time and catches hidden issues.
Quick checks you can do without tools
- Listen for squeal at low speed. This can be the wear indicator tab.
- Listen for grinding. If you hear this, stop and book service now.
- Feel the pedal. If it gets longer or softer, inspect soon.
- Watch for the brake warning light4. Some cars have pad wear sensors.
- Look through the wheel. If you can see less than a few millimeters of pad, plan a change.
Basic checks with simple tools
- Use a pad thickness gauge5. They are cheap and fast.
- Check the rotor face for deep grooves. This points to metal contact.
- Spin the wheel by hand (on a lift). Feel for drag that points to sticky slides.
- Measure both inner and outer pads. The inner often wears faster.
Full inspection steps I follow
- Remove caliper and pads. Check the pad face for glazing or cracking.
- Clean and lube slides with high-temp brake grease. Replace boots if torn.
- Clean the rotor hat and hub face. This helps reduce runout and vibration.
- Bed-in new pads per spec. I do 8–10 moderate stops from 35–45 mph with cool-down.
Why Runex Auto pads make checks easier
Our pads include chamfers and slots that help control noise. Our shims handle heat and cut vibration. Our friction mixes keep wear even. With even wear, your thickness readings make more sense, and you can predict the next replacement better. We also provide batch data, so you can tie field results back to production. This builds trust when you plan service.
A quick self-check table
| Check | What to do | Threshold | Next step |
|---|---|---|---|
| Visual pad | Look through wheel | Near or below 3 mm | Book replacement |
| Sound | Listen during gentle brake | Persistent squeal or grind | Inspect pads and rotors |
| Feel | Note pedal travel | Longer or spongy | Bleed and inspect pads |
| Stop distance | Measure from a set speed | Noticeably longer | Inspect and test pads |
| Mileage | Track since last change | Heavy city: 15–25k miles | Inspect at lower bound |
I used this flow last month for a fleet van that came in with a light squeal. The quick check found shiny pad edges. The basic check found the inner pad at 3 mm. The full check showed dry slide pins. We installed Runex Auto pads6, serviced the hardware, and did a proper bed-in. The van left quiet, and the driver felt more control in traffic.
At what percent should you replace your brakes?
I hear this question a lot because some reports show “pad life percent.” Percent looks clear, but it hides the real risk. The car does not know percent. It knows heat, pressure, and friction. I use percent only as a guide, not as the rule.
You should replace pads at around 20–25% remaining if that equals about 3 mm of friction material. Percent alone can mislead, because starting thickness varies by car and pad design. I translate percent to millimeters, then I decide. I also check noise, feel, and heat marks before I act.
Dive deeper
Percent is a rough map. Millimeters are the road. Many pads start around 10–12 mm of friction. Some heavy-duty sets start thicker. If your app says 25% left, that can be 2.5–3 mm on a 10–12 mm start. That is already at my action point. So I convert numbers first, and I never rely on percent without context.
How I convert percent to mm
- Find the new pad thickness from spec or from a new pad in stock.
- Multiply by percent remaining. For example, 12 mm new x 25% = 3 mm left.
- If the result is 3 mm or less, I plan a change now.
- If the result is 4–5 mm and the driver does heavy city driving, I schedule a short recheck.
Why percent reports vary
- Some systems track wear by miles and brake events. Heavy traffic can skew results.
- Some use wear sensors in one position only. They can miss uneven wear.
- Some techs start the “100%” from used pads, not new pad spec. This shifts the baseline.
Runex Auto design and wear curve
Our NAO pads show a stable wear rate7 in moderate use. Our semi-metallic pads show slower wear at high temperature. Both lines keep the curve predictable, which makes percent estimates more useful. We also test to ECE R90 standards to verify performance stability across temperature bands. Stable curves make planning easier.
Conversion table you can use
| New pad thickness (mm) | Percent remaining | Estimated mm left | My action |
|---|---|---|---|
| 12 | 30% | 3.6 | Inspect soon, plan change |
| 12 | 25% | 3.0 | Replace now |
| 10 | 30% | 3.0 | Replace now |
| 10 | 20% | 2.0 | Replace now, inspect rotors |
| 14 | 25% | 3.5 | Inspect soon, schedule change |
Why I still check other signs
I met a driver who had “35%” left per the dash. The inner pad was 2.5 mm. The outer was 4 mm. The sensor sat near the outer pad. The number looked safe, but the inner pad was not. We changed the set with Runex Auto pads8 and serviced slides. The car stopped quiet again.
Percent can help with planning, but it should not hold the final word. I always bring it back to millimeters, sound, feel, and heat marks. This keeps the decision simple and safe.
How many miles will 6mm brake pads last?
I know you want a number. You want a plan for the next season. You want to avoid mid-peak downtime. I use 6 mm as my “watch close” point. I can give you a range that I have tested on the road and in data.
A 6 mm pad can last about 5,000 to 20,000 miles, depending on driving style, load, route, and pad material. In heavy city traffic with frequent stops, I plan for 5,000–8,000 miles. In mixed routes, I plan for 10,000–15,000 miles. On long highway routes, I may see up to 20,000 miles. I check often after 6 mm.
Dive deeper
I track pad wear9 in millimeters per 1,000 miles for different routes. I also track driver behavior and vehicle load. I log this with fleets, and I match it with our Runex Auto test bench results. This gives me a range that I trust, and it helps me set service windows that fit real roads.
What changes the number most
- Route: City routes use the brakes often. Highways use them less.
- Load: Heavier vehicles and cargo push the pads harder.
- Speed: Higher speeds add heat during each stop.
- Driving style: Aggressive stops increase wear and heat.
- Pad material: NAO tends to be quieter with steady wear. Semi-metallic handles heat better with lower fade.
My rules of thumb at 6 mm
- Heavy city vans: 6 mm lasts about 5,000–8,000 miles.
- Mixed city/highway sedans: 6 mm lasts about 10,000–15,000 miles.
- Highway commuters: 6 mm lasts about 15,000–20,000 miles.
- Performance driving or towing: Reduce these numbers by 30–40%.
Runex Auto data snapshot
| Use case | Vehicle class | Pad line | Wear rate (mm/1k miles) | Est. miles from 6 mm |
|---|---|---|---|---|
| City delivery | Light van | Runex Auto NAO | 0.9–1.2 | 5,000–6,500 |
| Mixed commute | Compact sedan | Runex Auto NAO | 0.4–0.6 | 10,000–15,000 |
| Highway long-haul | Crossover | Runex Auto Semi-met | 0.3–0.4 | 15,000–20,000 |
| Towing/loads | Pickup | Runex Auto Semi-met | 1.0–1.5 | 4,000–6,000 |
These ranges reflect steady, well-bedded pads. Poor bed-in can cause early glazing. This can create uneven deposits on the rotor. The driver then feels vibration and thinks the pads wore out. In fact, the surface just needs to reset. I always bed-in new Runex Auto pads with a series of controlled stops. This builds an even transfer layer and helps pad life.
A short story from the field
A customer came in with repeat noise and vibration. They felt stuck. They had changed pads more than once. We inspected. The pads were thin and glazed, and the hardware was dry. We switched them to Runex Auto10 pads, replaced the hardware, and did a proper bed-in. The result was quiet and smooth braking. The problem did not come back. Their next inspection showed even wear. The 6 mm point carried them for a full season in mixed routes.
If you sit at 6 mm now, I suggest you plan your next service date based on your route. I also suggest a quick inspection every 2,000–3,000 miles. The extra check costs less than a rush rotor replacement during peak season.
Conclusion
I keep brake pad11 decisions simple. I replace at about 3 mm. I track noise, feel, and heat marks. I convert percent to millimeters. I treat 6 mm as my watch point. I trust Runex Auto pads because they stay quiet, they wear even, and they handle heat. This helps me protect rotors, keep drivers safe, and avoid peak-season downtime. If you need help setting service windows, I can build a plan that fits your route and your load.
-
Understanding how a brake pad gauge works can enhance your brake maintenance skills and ensure safety. ↩
-
Discover the importance of OEM-grade friction mixes for optimal braking efficiency and safety. ↩
-
Explore the advantages of Runex Auto pads for improved braking performance and safety. ↩
-
Understand the significance of the brake warning light and what actions to take to maintain vehicle safety. ↩
-
Learn the proper use of a pad thickness gauge to ensure your brakes are safe and effective, preventing costly repairs. ↩
-
Explore how Runex Auto pads enhance brake performance and maintenance efficiency, ensuring safety and reliability. ↩
-
Learn about stable wear rates and how they impact brake pad longevity and performance. ↩
-
Explore the advantages of Runex Auto pads for improved braking performance and safety. ↩
-
Understanding pad wear can help you optimize brake performance and extend the life of your vehicle's braking system. ↩
-
Discovering the advantages of Runex Auto pads can enhance your vehicle's braking efficiency and reliability. ↩
-
Finding the best auto brake pads from Runex Auto. ↩