Replacing brake pads and rotors might seem like a daunting task, but with the right steps, you can do it yourself and save on expensive labor costs. In this guide, we'll take you through the process of replacing these vital car components, ensuring your vehicle’s braking system works efficiently.
Replacing brake pads and rotors is an essential maintenance task that every car owner should learn. With the right tools and instructions, this process can be done at home. We’ll walk you through the steps involved in replacing your brake pads and rotors to keep your car running smoothly and safely.
Before you dive into the process, it’s important to understand whether you can replace brake pads and rotors yourself. Let’s first take a look at whether this is something you can handle at home or if you should consult a professional.
Can I Replace Brake Pads and Rotors Myself?
Replacing brake pads and rotors is not as complex as it might sound. With the right tools, a little know-how, and some patience, most DIY enthusiasts can handle this task. But is it really a job you can do yourself?
Yes, replacing brake pads and rotors yourself is possible, but it requires attention to detail and a few essential tools. If you have basic mechanical skills and the right tools, you can save money by doing this job at home. But be aware, safety is key, and if you’re unsure, a professional mechanic is always a good option.
When considering whether to replace your brake pads and rotors1 yourself, there are a few important factors to keep in mind. Firstly, you’ll need basic mechanical knowledge2. Understanding how your car's braking system works is essential before you attempt any replacement. You should also have the right tools, including a jack, jack stands, a lug wrench, brake fluid, and a torque wrench.
The process requires you to safely lift the car and remove the wheels to access the brake system. After removing the old pads and rotors, you’ll need to install the new components correctly and torque them to the proper specifications. If you're unfamiliar with the parts of the brake system or lack the tools, seeking professional help is advisable.
However, if you enjoy working on your car and feel confident in your skills, replacing the brake pads and rotors can be a rewarding DIY project. Just be sure to follow all safety precautions3 and work slowly, checking each step as you go.
Here’s a basic checklist of tools you’ll need:
| Tool | Purpose |
|---|---|
| Car jack | Lifting the vehicle safely |
| Jack stands | Ensuring the car stays in place while working |
| Lug wrench | Removing and tightening the lug nuts |
| Socket wrench set | Removing caliper bolts and rotor bolts |
| Brake fluid | Topping off or replacing brake fluid if necessary |
| Torque wrench | Tightening the bolts to the correct torque |
| Anti-squeal grease | Lubricating the caliper and pad contact points |
How to Change Brake Pads Step by Step?
Changing your brake pads is a critical maintenance task that ensures the safety and efficiency of your braking system. But how exactly do you go about changing them? Let’s break down the process step by step.
Replacing brake pads requires a systematic approach. Start by lifting the car, removing the wheels, and inspecting the brake system. The next steps include removing the old brake pads, installing the new ones, and ensuring that everything is secure. Here’s how you do it in simple steps.
Here’s a step-by-step breakdown of how to change your brake pads4:
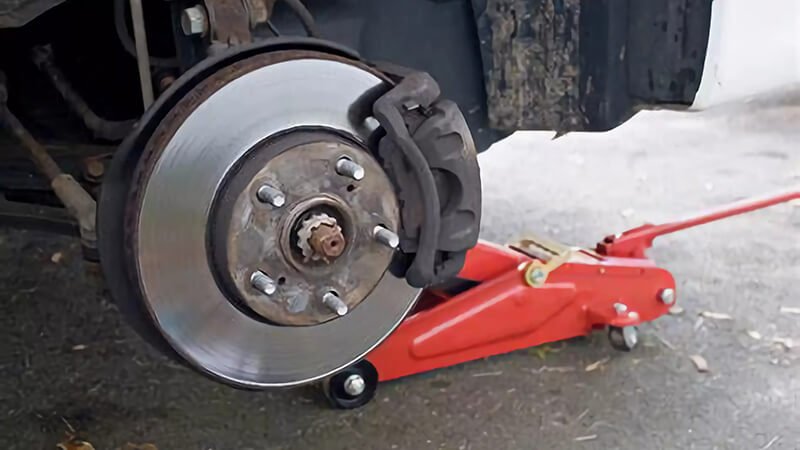
- Lift the car: Use a jack to lift the car and place it securely on jack stands. Make sure the car is stable before proceeding. Never rely solely on the jack.
- Remove the wheels: Use a lug wrench to remove the wheels and expose the brake components. Remember to loosen the lug nuts before lifting the vehicle.
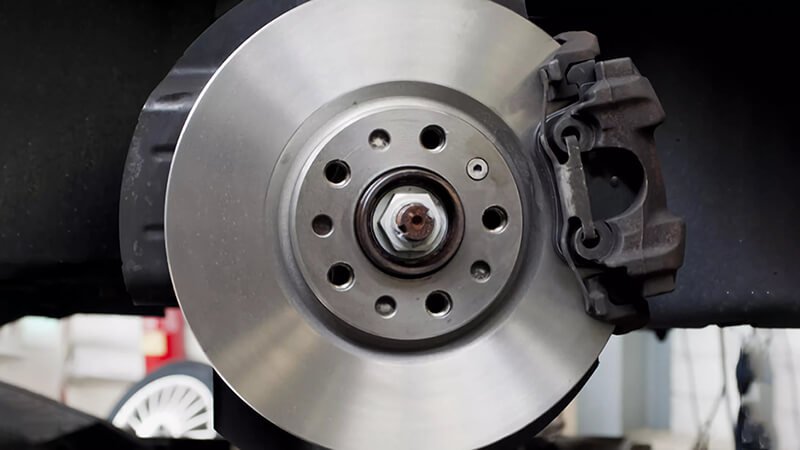
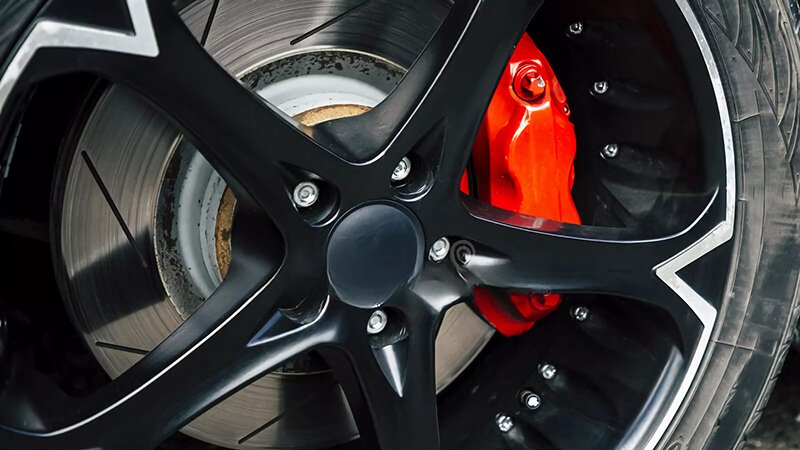
- Locate the brake pads: Look for the brake caliper5, which houses the brake pads. The caliper is often secured with bolts that need to be removed first.
- Remove the caliper bolts: Use a socket wrench to remove the caliper bolts and take off the caliper. Be careful not to damage the brake lines.
- Remove the old brake pads: Slide the old brake pads out of their slots. Take note of how they are positioned, as this will help with installing the new ones. Check the rotor surface for any signs of damage or uneven wear.
- Inspect the rotor: Check the rotor for any deep grooves, cracks, or scoring. If the rotor is damaged, it’s time to replace it. The rotor should also be within the recommended thickness—if it's too thin, replacement is necessary.
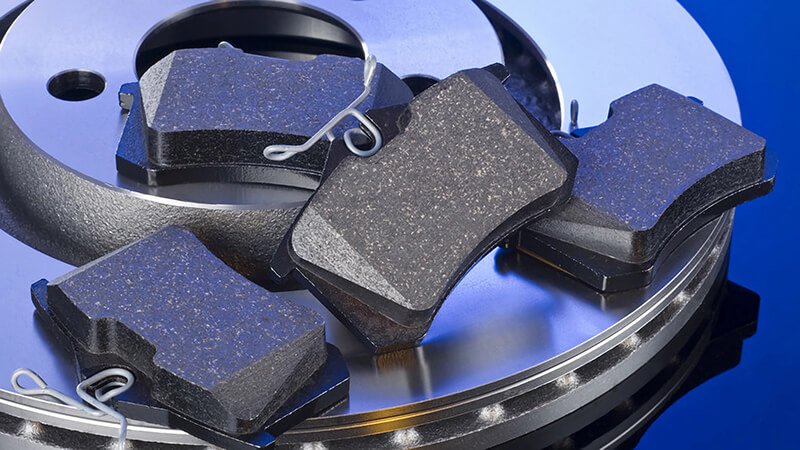
- Install the new brake pads: Slide the new brake pads into place, ensuring they are aligned properly. Use anti-squeal lubricant if necessary. Ensure the brake pad contacts the rotor evenly.
- Reassemble the caliper: Reattach the caliper to the rotor and tighten the bolts securely. Use a torque wrench to make sure the bolts are tightened to the correct specification.
- Check the brake fluid: Inspect the brake fluid6 level and top it off if needed. Brake fluid is crucial for the hydraulic operation of your brakes, so ensure it is within the optimal range.
- Test the brakes: Before driving, pump the brake pedal a few times to ensure the pads are seated correctly and that you get a firm pedal feel. Test drive the vehicle at a low speed to check braking performance.
By following these steps, you can change your brake pads safely and efficiently, ensuring optimal braking performance.
What is the 30/30/30 Rule for Brakes?
You may have heard of the 30/30/30 rule when it comes to brake maintenance. But what does it actually mean, and how does it relate to your brake system’s health? Let’s explore the rule and its significance.
The 30/30/30 rule is a guideline for brake maintenance. It suggests that you should inspect your brakes every 30,000 miles, replace your brake pads every 30,000 miles, and consider replacing the rotors every 30,000 miles as well. This simple rule can help you maintain your braking system's efficiency and prevent costly repairs.
The 30/30/30 rule7 is a simple yet effective guideline for maintaining your braking system. It recommends that you inspect your brake system every 30,000 miles, replace the brake pads every 30,000 miles, and replace the rotors every 30,000 miles. This ensures that your vehicle’s braking system remains in good condition and functions safely.
Here’s why each part of the rule is important:
| Task | Recommendation | Purpose |
|---|---|---|
| Brake inspection | Inspect every 30,000 miles | Identifying wear and tear early on helps avoid costly repairs. |
| Pad replacement | Replace brake pads every 30,000 miles | Ensures optimal braking performance and safety. |
| Rotor replacement | Replace rotors every 30,000 miles (if necessary) | Prevents rotor damage and ensures efficient braking. |
Why is this rule effective?
- Brake pad replacement: Brake pads wear down over time due to the friction they experience while braking. Regularly replacing them ensures you maintain optimal stopping power.
- Rotor replacement: The rotors can wear down and develop grooves or cracks, which affect their ability to properly engage with the brake pads. Replacing rotors ensures the entire system is functioning smoothly.
- Inspection: Regularly inspecting your brake system can help you catch early signs of wear or issues before they become serious, saving you money on repairs.
While the 30/30/30 rule is a helpful guideline, it’s important to remember that driving conditions and your vehicle’s usage may affect how often you need to replace your brake components. Always consult your vehicle’s manual for specific recommendations.
What is a Recommended Step When Replacing Disc Brake Pads?
Replacing disc brake pads involves a bit more than just swapping out the old ones for new ones. There are several recommended steps you should follow to ensure the replacement is done properly and safely.
When replacing disc brake pads, it’s essential to clean the rotor, lubricate the caliper pins, and check for any damage to the components. These extra steps help ensure the brake system performs efficiently and quietly, reducing the risk of issues like noise or uneven wear.
Replacing disc brake pads is more than just swapping out the old ones. Here’s a recommended step-by-step guide to ensure the job is done correctly:
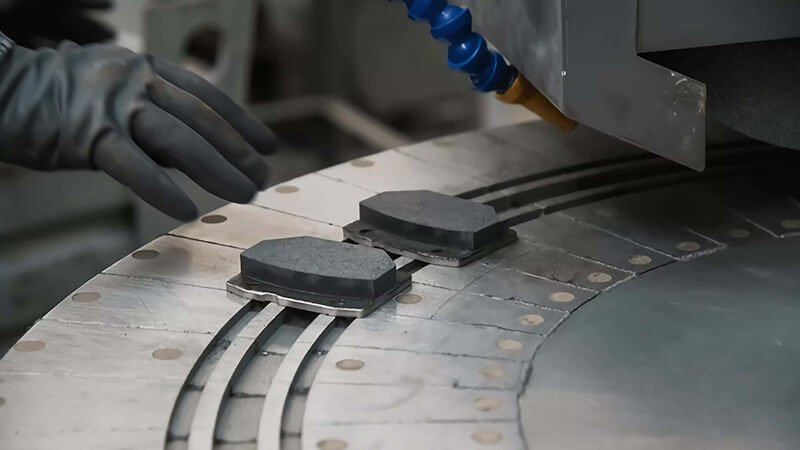
- Clean the rotor8: Before installing new brake pads, it’s important to clean the rotor. Use a brake cleaner to remove any dust, grease, or debris from the rotor’s surface. This ensures the new pads will make proper contact and function smoothly.
- Lubricate the caliper pins9: Lubricating the caliper pins helps ensure the caliper moves freely, reducing noise and wear. Apply a small amount of brake grease to the pins before reassembling the brake components.
- Check for wear and damage10: Inspect the rotor for any damage, cracks, or grooves. If the rotor is excessively worn or damaged, it should be replaced as well.
- Install the new brake pads: Place the new brake pads in the caliper bracket, ensuring they are aligned correctly. Double-check the positioning to avoid uneven wear or poor performance.
- Reassemble the brake system: After installing the new pads, reassemble the caliper and rotor assembly. Tighten the bolts to the correct torque specification to prevent loosening.
- Test the brakes: Before driving, pump the brake pedal several times to ensure the pads are properly seated and the system is working correctly.
Following these steps will help you achieve a smooth, quiet braking experience while maximizing the lifespan of your brake components.

Conclusion
Replacing your brake pads11 and rotors is a manageable task with the right tools and knowledge. Whether you choose to do it yourself or seek professional help, keeping your braking system in top shape is essential for both safety and performance. By understanding the steps involved and following best practices, you can ensure your vehicle stays in optimal condition and performs reliably on the road.
-
Explore this resource to gain a comprehensive understanding of the replacement process, ensuring safety and effectiveness. ↩
-
This link will provide insights into the significance of mechanical knowledge in DIY car repairs, enhancing your skills. ↩
-
Learn about crucial safety measures to take when working on your car, ensuring a safe and successful repair experience. ↩
-
Explore this link to learn expert tips and techniques for changing brake pads effectively and safely. ↩
-
Discover the critical role of the brake caliper in your vehicle's braking system and why it's important to maintain it properly. ↩
-
Understanding brake fluid maintenance is crucial for safe driving; this link provides essential insights on checking and maintaining brake fluid levels. ↩
-
Understanding the 30/30/30 rule can help you maintain your vehicle's braking system effectively and safely. ↩
-
Learn the best techniques for cleaning brake rotors to ensure optimal performance and safety. ↩
-
Discover the significance of lubricating caliper pins for smoother brake operation and reduced wear. ↩
-
Understand how to inspect brake rotors for wear and damage to ensure safe braking performance. ↩
-
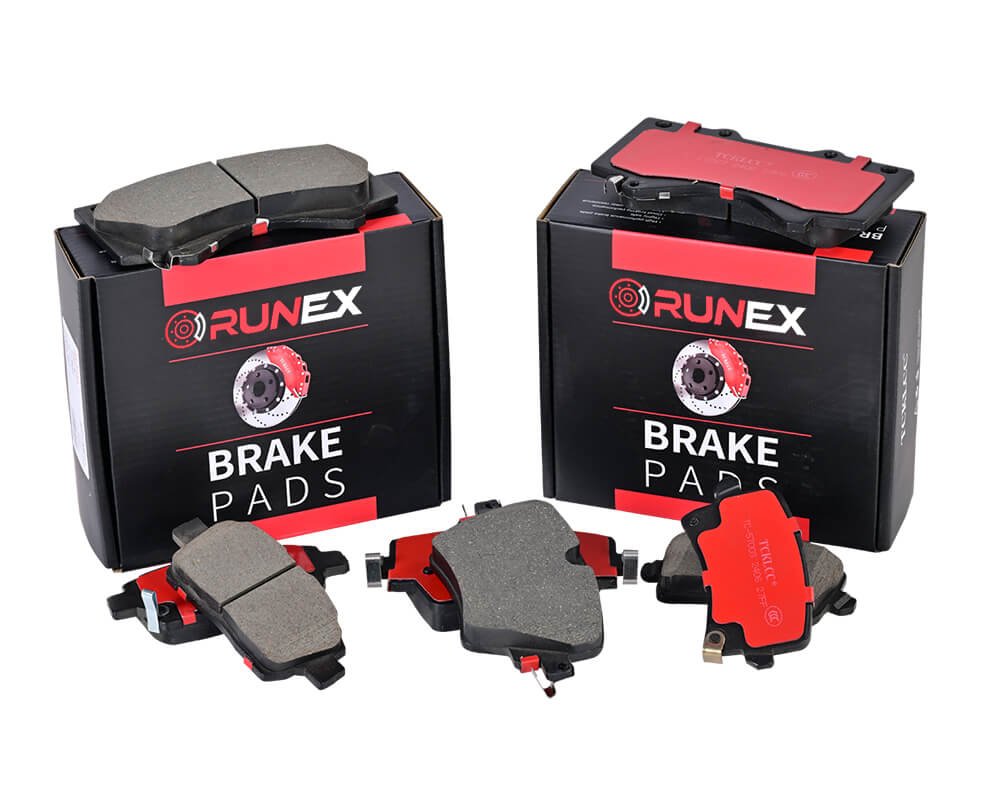
Looking for the best brake pads for your business, contact us. ↩