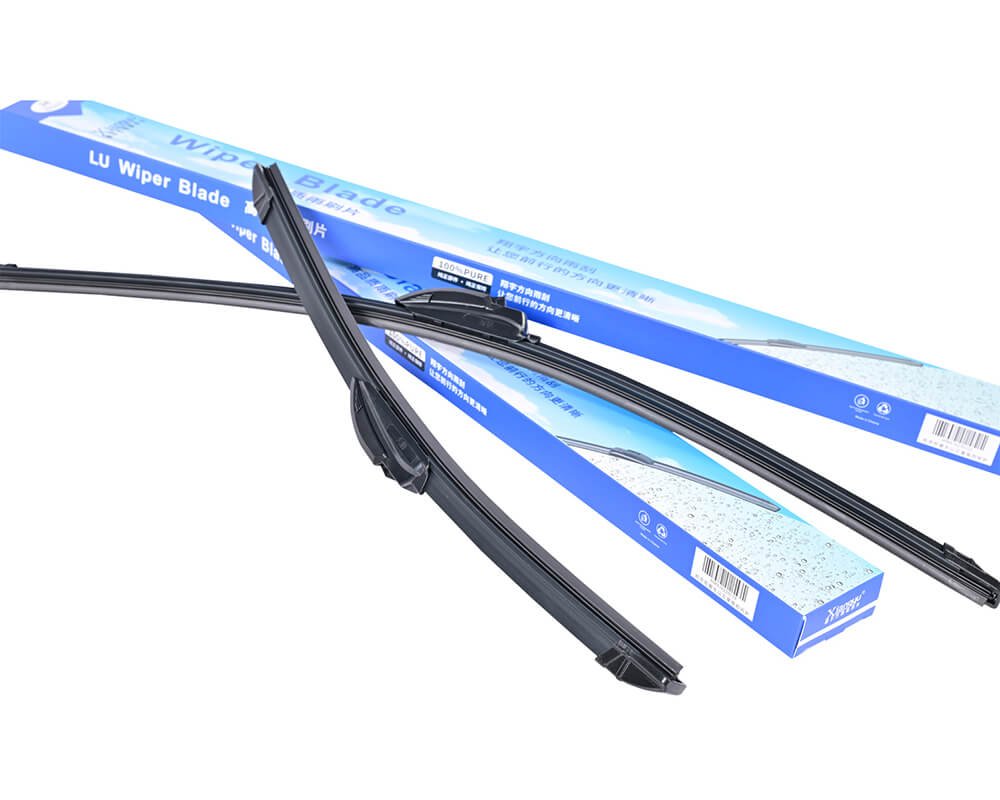
Changing the air cleaner filter is a crucial task to maintain air quality and prevent system inefficiency. It’s an easy process, but it’s important to know the right steps to follow to avoid errors and ensure proper functionality.
Replacing an air cleaner filter helps maintain optimal performance by trapping dust and particles. It’s a simple procedure that anyone can do, and this guide will walk you through the steps to ensure your system works smoothly.
Understanding the process of changing the air cleaner filter is essential for anyone who wants to keep their system in top shape. Let’s explore the steps in detail so you can easily replace the filter and enjoy clean air.

What are the steps to changing the air filter?
Changing the air filter can seem complicated, but it’s straightforward once you know the steps. Whether you’re doing it for the first time or just need a refresher, following these steps will ensure that you get the job done right.
The process of changing the air filter involves turning off the system, removing the old filter, and placing a new one. It’s a simple task that can improve the air quality and efficiency of your air cleaner. Let’s break down the process.
Changing an air filter1 is an essential maintenance task that contributes to both the longevity and performance of your system. Below is a more detailed step-by-step breakdown of the procedure:
Step 1: Turn Off the System2
Always ensure that the system is powered off before beginning the maintenance. This step is crucial for your safety. Turn off the air cleaner or air purifier and unplug the device to eliminate any electrical hazards.
Step 2: Locate the Air Filter3
The location of the air filter can vary depending on the model. It is typically housed behind a cover, which may be secured with screws or clips. Check your device’s manual to locate the filter compartment if you’re unsure where it is.
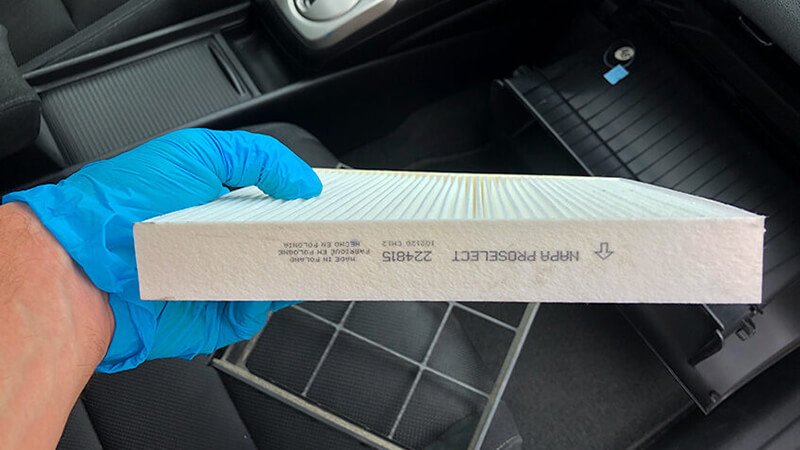
Step 3: Remove the Old Air Filter
Once you locate the air filter, carefully remove it from the compartment. Some filters may be snugly fit, so you might need to gently pull or wiggle them loose. Be cautious not to spill the collected dust and debris into the air.
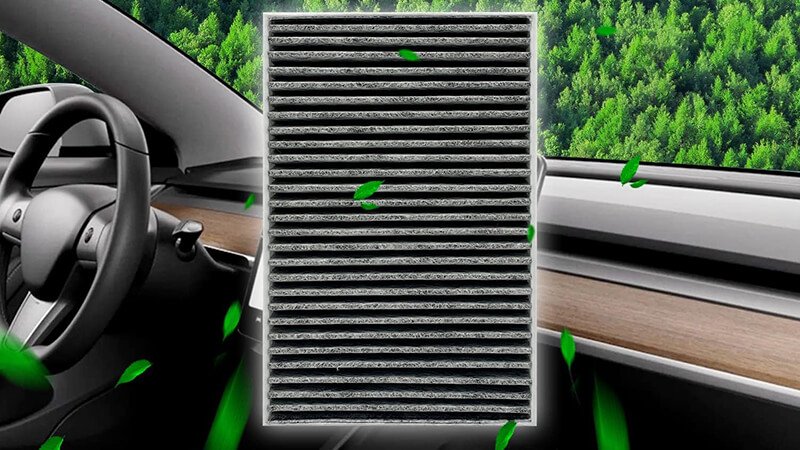
Step 4: Inspect the Filter
Before installing the new filter, inspect the old one for dirt buildup. If you find any damage or significant wear, it’s time to replace it. A filter that is too clogged may not serve its purpose effectively, leading to poor air quality and inefficient filtration.
Step 5: Install the New Air Filter
Place the new filter in the same orientation as the old one. Pay attention to the arrows that indicate airflow direction. Ensure the filter fits snugly and is positioned correctly. An improperly installed filter can reduce the system's efficiency.
Step 6: Reassemble the Unit
After placing the new filter, reassemble any panels or covers that were removed. Make sure all screws or clips are securely fastened. If the system has an indicator light for filter replacement, reset it according to the manufacturer’s instructions.
Step 7: Test the System
Once the filter is replaced and the unit is reassembled, turn the air cleaner back on. Monitor its performance for any unusual sounds or malfunctions. The airflow should feel smooth and consistent.
Importance of Regular Maintenance
Changing the air filter regularly is essential for ensuring the longevity and performance of your air cleaning system. A clogged filter can reduce the efficiency of your device, leading to higher energy consumption and increased wear on the internal components.
| Factor | Impact on Performance |
|---|---|
| Airflow | Blocked filters reduce airflow, making the system work harder and less efficiently. |
| Energy Efficiency | A dirty filter forces the system to use more energy to achieve the same result. |
| Indoor Air Quality | Clogged filters are less effective at trapping airborne particles, leading to poorer air quality. |

How to change air purifier filter?
Air purifiers are key in maintaining clean air in your home or office, but they need regular maintenance. Changing the air purifier filter4 is vital to ensure the device functions efficiently. Here’s a simple guide to help you change it.
Changing the air purifier filter is crucial for maintaining its effectiveness. The process usually involves turning off the device, removing the old filter, and installing a new one. Let’s go over the details to make this easy for you.
Air purifiers rely on filters5 to capture dust, allergens, and harmful particles from the air. Regularly changing the filter helps to maintain air quality and the efficiency of the purifier. Below are the steps to guide you through this process:
Step 1: Turn Off the Air Purifier6
Before you start, ensure the air purifier is turned off and unplugged. This will eliminate any electrical hazards and ensure the system is not operating while you are working on it.
Step 2: Open the Filter Compartment
The filter compartment is typically located at the back or bottom of the air purifier. Depending on the model, you may need to open a panel or remove screws to access the filter. Some newer models may have a button or latch that allows you to slide the compartment open.
Step 3: Remove the Old Filter
Carefully pull out the old filter from its compartment. Depending on the filter type, it may be a bit stuck due to dust buildup, so gently wiggle it free. Be cautious not to disturb the dust too much, as this could lead to it being released back into the air.
Step 4: Install the New Filter
Insert the new filter in the same position as the old one. Pay attention to the orientation markings on the filter, as most air purifiers require the filter to be installed in a specific direction for optimal airflow. Most filters have arrows that indicate the correct direction.
Step 5: Close the Compartment and Turn On the Unit
Once the new filter is securely in place, close the compartment. Make sure it is sealed properly to avoid air leakage. Plug the air purifier back in, and turn it on. Check if the device is functioning properly.
Step 6: Reset the Filter Indicator
Many air purifiers have a filter replacement indicator that needs to be reset after the filter has been replaced. This can often be done by holding a button for a few seconds, but refer to your user manual for specific instructions.
| Type of Filter | Average Lifespan | Frequency of Change |
|---|---|---|
| HEPA Filters | 6-12 months | Every 6 months |
| Carbon Filters | 3-6 months | Every 3-6 months |
| Pre-Filters | 1-2 months | Every 1-2 months |
Regularly replacing the air filter ensures that the purifier continues to operate effectively, keeping your indoor air clean and safe.

What are the procedures in cleaning the air filter?
Cleaning the air filter is an essential task to maintain your system’s efficiency and improve air quality. While changing the filter is often necessary, cleaning it can extend its life and reduce costs. Here's how to do it.
Cleaning the air filter7 is an essential task to maintain your system’s efficiency and improve air quality. While changing the filter is often necessary, cleaning it can extend its life and reduce costs. Here's how to do it.
Cleaning your air filter is a maintenance step that can significantly prolong the filter’s lifespan, allowing you to avoid unnecessary replacements. This step is especially important if your filter is washable. Let’s take a closer look at how to clean your filter properly:
Step 1: Turn Off the System8
Before cleaning, always ensure the system is powered off and unplugged. This step is crucial for safety. Failure to turn off the system may result in damage to the unit or even injury.
Step 2: Remove the Filter9
Take out the filter from the compartment, just as you would during a replacement. Be gentle, especially if the filter has been in place for a long time, as it may be stuck.
Step 3: Inspect the Filter
Inspect the filter to determine whether it’s washable. Some filters, such as HEPA filters, should only be replaced, not cleaned. If the filter is washable, proceed to clean it; otherwise, it’s time to replace it.
Step 4: Clean the Filter
- Vacuuming: Use a vacuum cleaner with a soft brush attachment to gently remove loose dirt and debris.
- Washing: If the filter is washable, rinse it under cold water. Avoid using soap, bleach, or harsh chemicals, as they can damage the filter material. Let the filter air-dry completely before reinstallation.
- Drying: Never use a hair dryer or heat source to dry the filter, as excessive heat can cause warping.
Step 5: Reinstall the Filter
Once the filter is clean and dry, reinstall it into the system. Make sure it’s positioned the same way as it was before. If the filter is reusable, check it regularly and clean it every 1-3 months depending on usage.
Regular cleaning prevents the buildup of dirt and dust, maintaining the efficiency of the air cleaner and enhancing air quality.
How do you clean and replace an air filter?
Cleaning and replacing the air filter10 are essential to keeping your system working properly. While cleaning helps extend the filter's life, replacement is necessary when the filter becomes too clogged. Here's how to handle both tasks.
Both cleaning and replacing an air filter are simple tasks, but knowing when to clean and when to replace the filter is key. This guide will help you maintain your system and ensure it operates efficiently.
Maintaining an air filter involves two key actions: cleaning11 and replacing12. Here's how you can determine when to clean and when to replace your filter:
Cleaning the Filter
Cleaning should be done regularly to remove dust, dirt, and debris. This can be done every 1-2 months if you notice the filter getting dirty. Use a vacuum or rinse the filter under water (if washable) to keep it in good condition.
Replacing the Filter
If cleaning the filter does not restore its functionality or if it appears damaged, it’s time to replace it. Filters that are too clogged can negatively affect the performance of your air purifier, leading to higher energy consumption and reduced air quality.
| When to Clean the Filter | When to Replace the Filter |
|---|---|
| Slightly dusty | If the filter is torn or damaged |
| After 1-2 months | If cleaning doesn’t improve performance |
| During high-use seasons | If airflow is drastically reduced |
By following these procedures and knowing when to clean and replace the filter, you ensure that your air purifier or cleaner continues to operate at peak efficiency.

Conclusion
In conclusion, replacing and cleaning your air cleaner filter are vital steps in maintaining your system’s efficiency and ensuring clean air. Regular maintenance can help avoid costly repairs and replacements. Whether you’re cleaning or replacing the filter, follow the proper steps for the best results.
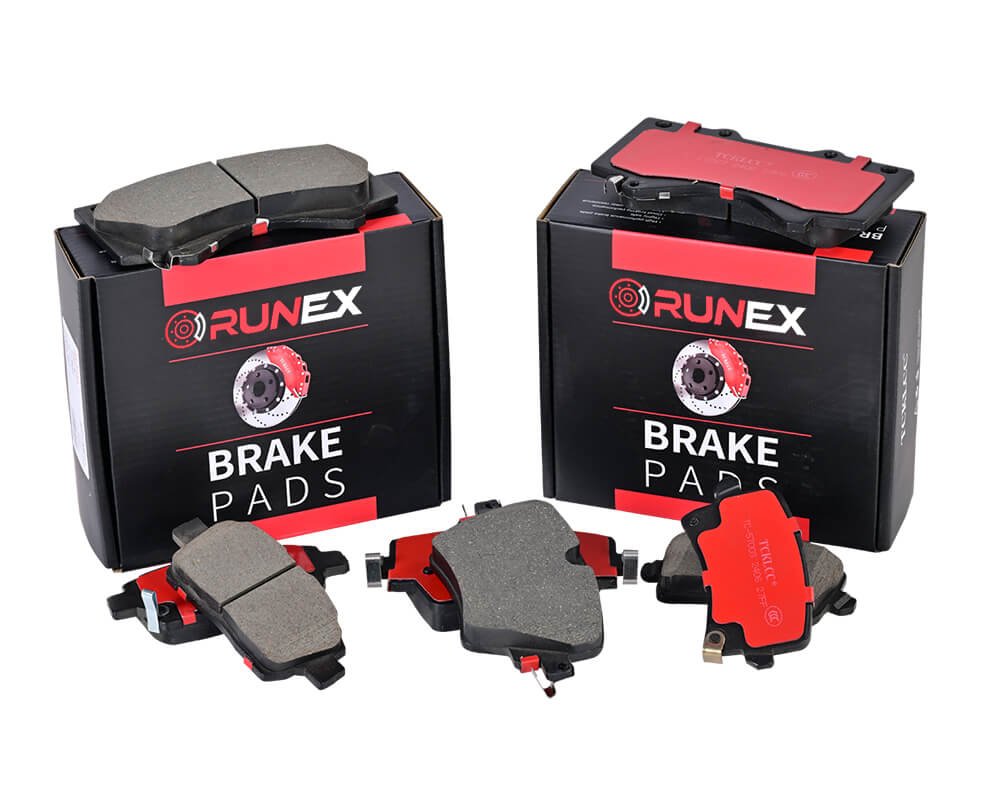
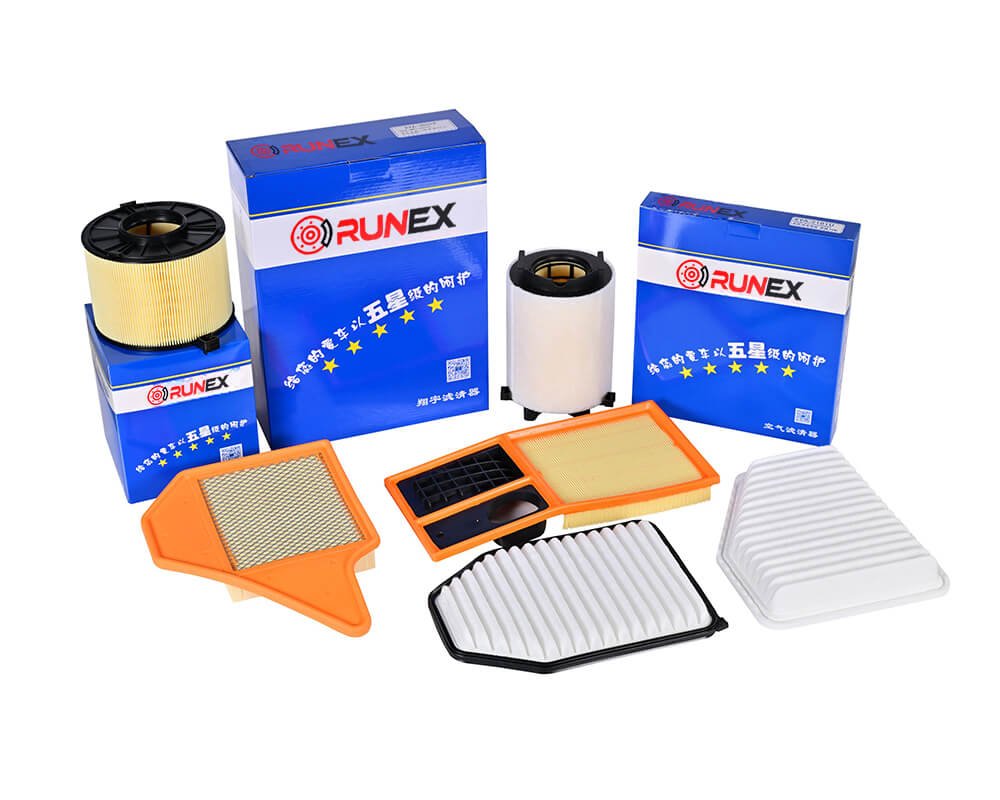
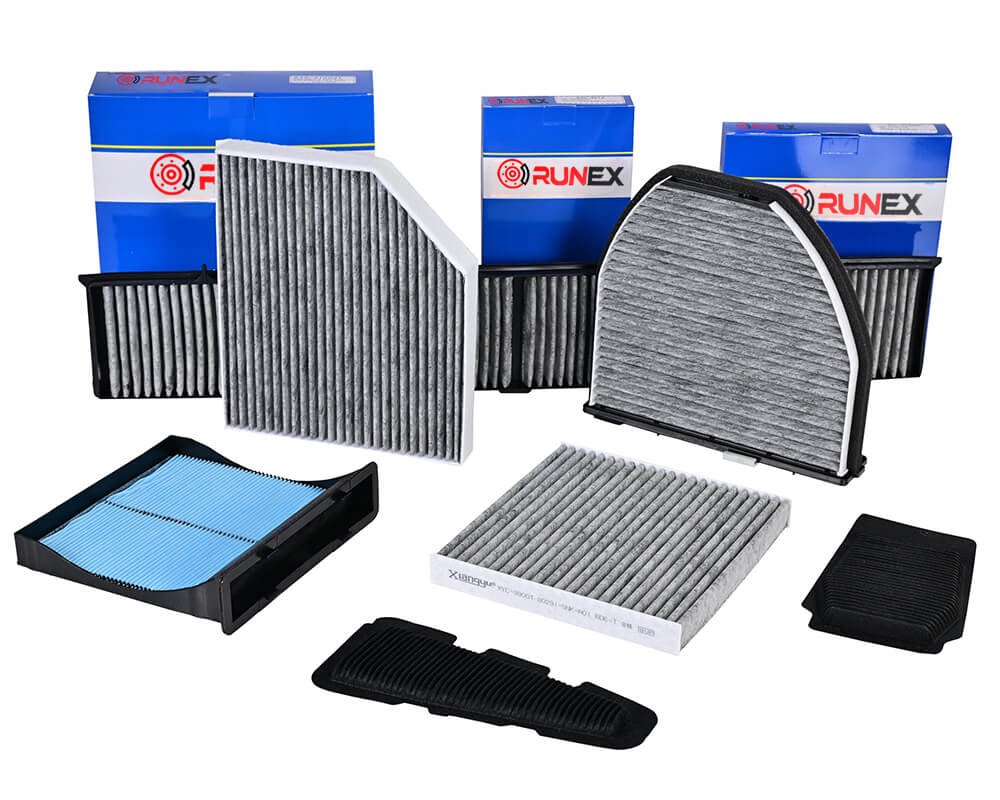
Don't hesitate to contact Runex 13 to get your best products.
-
Learn why regular air filter changes enhance the longevity and performance of your air systems. ↩
-
Ensure safety when powering off your air system before maintenance. ↩
-
Understand how to find the air filter in different air cleaners or purifiers. ↩
-
Learn why regular filter changes are essential for air purifiers' performance and air quality. ↩
-
Understand the different filters used in air purifiers and their importance in cleaning the air. ↩
-
Learn the correct way to turn off your air purifier for safe maintenance. ↩
-
Learn how cleaning an air filter improves efficiency and prolongs its lifespan. ↩
-
Ensure safety when powering off your system for filter maintenance. ↩
-
Learn the correct method to remove and handle your air filter safely. ↩
-
Find out the best frequency for cleaning and replacing your air filter for efficiency. ↩
-
Learn how to clean your air filter safely without causing any harm to its material. ↩
-
Learn the signs that indicate it’s time to replace your air filter. ↩
-
More detials about cabin air filter is here for your checking. ↩