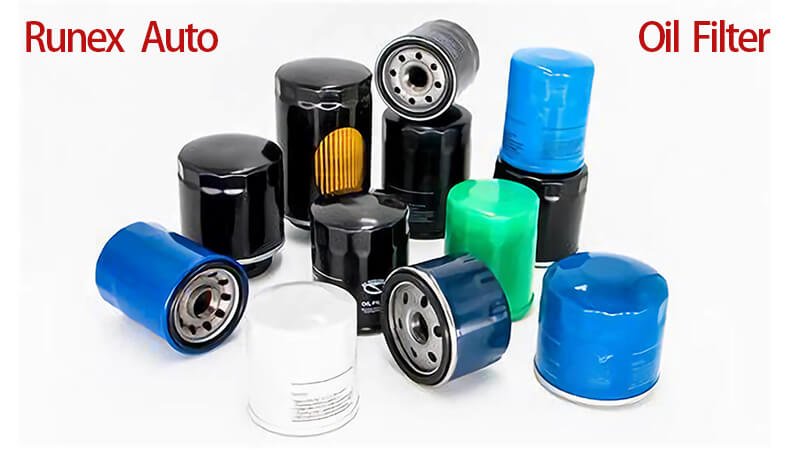
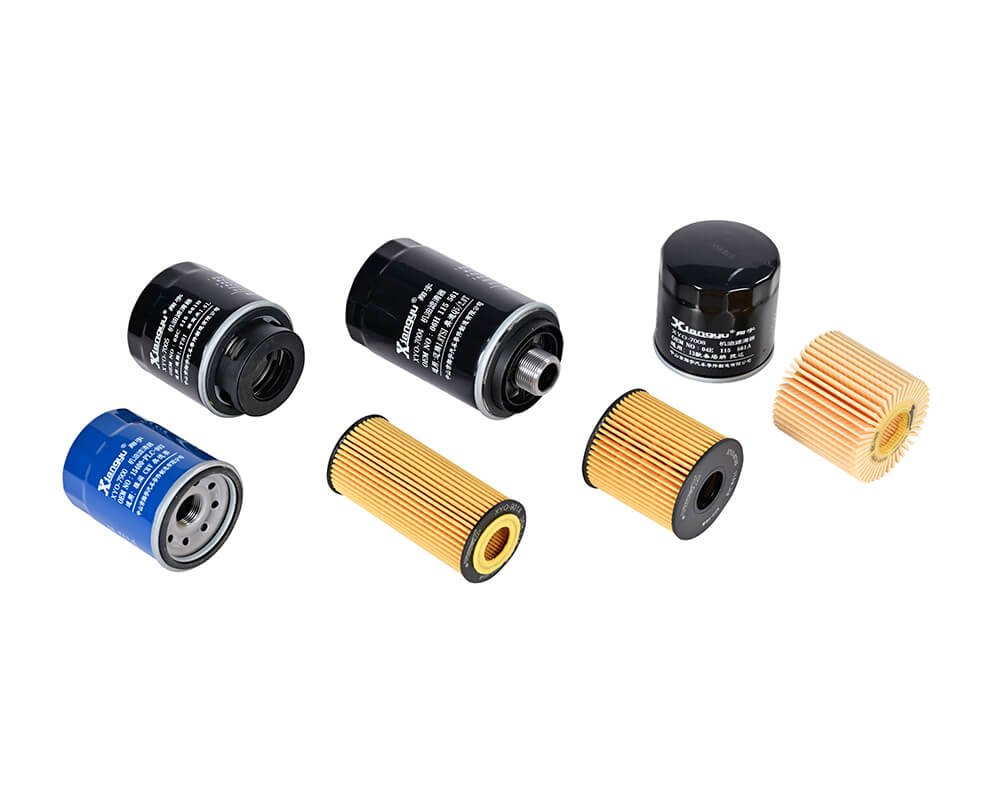
When it comes to maintaining engine performance, changing the oil filter is non-negotiable—but many people still get it wrong.
To install a new oil filter correctly, you need to prepare the filter, remove the old gasket, align the threads, and hand-tighten without over-torquing.
It sounds simple, but a minor mistake can lead to oil leaks, poor filtration, and even engine failure. In this article, I’ll break down the process using my experience with Runex Auto oil filters and explain why these steps matter more than you think.

How to properly install a new oil filter?
Many assume installing an oil filter is just twist-and-go. That’s why so many installations go wrong.
To properly install a new oil filter, start by removing the old filter and its gasket, clean the mount surface, lubricate the new gasket, and tighten the new filter with care—not too tight, not too loose.
Understanding the Right Steps
When you install a Runex Auto oil filter1, it’s not just about screwing in a part—it’s about completing a precision process. I’ve seen mechanics rush through this, missing crucial steps. One of my clients—a fleet manager—learned this the hard way. Their maintenance team kept skipping a simple check: making sure the old gasket was removed. That led to double gaskets2, poor sealing, and multiple oil leaks across the fleet. It wasn’t the filter’s fault. It was the process.
Here’s how I advise all my clients to install a Runex Auto oil filter:
1. Remove the Old Filter and Gasket
Always inspect the engine surface3 after removing the old filter. A stuck gasket can cause severe leaks. Runex filters are designed to seal tight, so you must ensure no old rubber remains.
2. Clean the Mounting Surface
Use a clean, lint-free rag to wipe the filter mount. Dirt or old oil can affect sealing and allow debris into the engine.
3. Lubricate the New Gasket
Rub a thin layer of clean oil onto the gasket. This prevents friction and allows smooth tightening, which is essential for Runex filters' engineered sealing system.
4. Hand-Tighten Only
Over-tightening can crush the gasket or warp the housing. Runex filters are engineered for a snug fit with just a firm hand twist—no wrench needed.
| Step | Action | Why It Matters |
|---|---|---|
| 1 | Remove old filter + gasket | Avoids double gasket issues |
| 2 | Clean engine surface | Ensures solid seal and prevents leaks |
| 3 | Lubricate new gasket | Reduces friction and aids correct seating |
| 4 | Hand-tighten | Prevents over-compression and damage |
By following these, the fleet manager solved the leak issues entirely. One small change. Big difference.

How do you ensure the new oil filter is installed correctly?
Sometimes a filter looks fine after installation—until it leaks under pressure.
To ensure correct installation, confirm the old gasket is gone, the sealing surface is clean, the gasket is lubricated, and the new filter is hand-tightened. Then, start the engine and check for leaks.
The Confirmation Checklist
Runex Auto designs its oil filters4 for both performance and reliability. But even the best filter can fail if it’s not installed correctly. I always emphasize this with clients: good parts need good processes. Here’s the checklist we recommend:
Visual and Tactile Checks
Run your finger around the sealing base to ensure no old gasket remains. Then inspect the new filter to confirm its gasket5 is seated properly.
Filter Orientation and Fit
Make sure the threads match. Runex Auto oil filters use precision-threaded bases to ensure alignment, but forcing the wrong thread can strip the fitting or cause uneven sealing.
Prime the Engine
After installation, run the engine for 30–60 seconds. Then shut it off and inspect the area around the filter. Any sign of leaking oil means something was missed—stop and fix it before driving.
Check After First Drive
Even if everything looks good initially, recheck after a short test drive. Heat can expand parts and reveal hidden issues.
| Checkpoint | What to Look For | Runex Advantage |
|---|---|---|
| Old gasket | Fully removed | Prevents double gasket problems |
| Lubricated gasket | Even coating of oil | Enables correct torque |
| Initial run | No dripping or seepage | Confirms seal integrity6 |
| Post-drive check | Still dry? | Confirms long-term seal under heat |
Small details like this helped one of our European distributors cut their return rate in half. All they changed was the final inspection process. That’s the power of precision.

Can you replace an oil filter yourself?
You don’t have to be a certified mechanic to do it right—but you do need to know the rules.
Yes, you can replace an oil filter yourself using basic tools, as long as you follow correct procedures: identify the correct filter model, prepare the parts, and inspect for leaks after installation.
Why DIY is Doable—But Needs Discipline
Many of our clients—especially in smaller workshops or fleets—handle oil changes in-house. I always tell them: replacing a Runex oil filter7 isn’t rocket science, but skipping steps turns savings into engine damage.
Tools and Setup
You’ll need:
- Oil catch pan
- Wrench (for stubborn filters)
- New Runex oil filter (double-check compatibility)
- Fresh engine oil8
- Clean rags
Process Matters
Runex filters come with pre-lubed gaskets in some models. But even then, I still advise adding a fresh coat before installation. It costs nothing. It prevents a lot.
Don't Skip the Drain
Never change the filter without draining the oil first unless you're using a top-side extractor system. Old oil can surge out under pressure.
The Confidence Curve
Most first-time installers just need one success to build confidence. I’ve had clients who were nervous at first, but after replacing a couple filters correctly—using Runex—they never looked back.
| Item | Needed For | Tip |
|---|---|---|
| Filter wrench | Removing stuck filter | Don’t overtighten during install |
| New filter | Replacement | Always verify part number |
| Engine oil | Refill | Use OEM-spec oil only |
| Rag | Cleanup | Clean contact surface thoroughly |
So yes—you can do it. But only if you treat it with care.
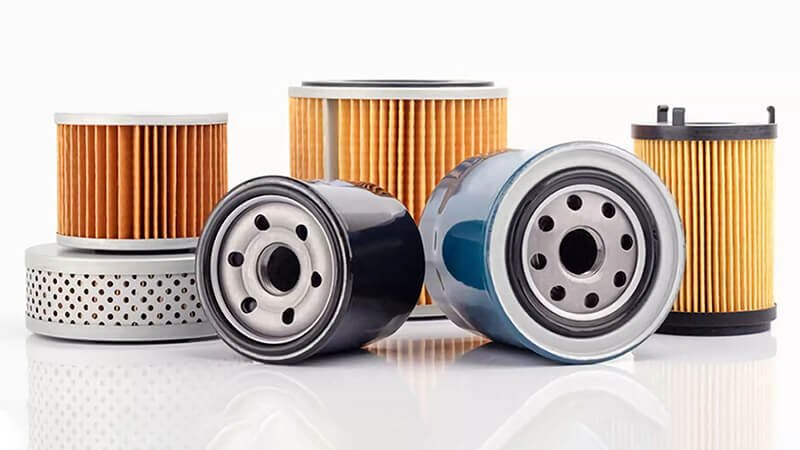
How should a new oil filter be prepared before installation?
Jumping straight to installation without prep is like installing tires without checking air pressure.
Before installing a new oil filter, apply a light coat of clean oil to the gasket, fill the filter with fresh oil (if applicable), and inspect the threads and sealing surfaces.
Filter Prep: The Silent Hero
Many problems start before the filter ever touches the engine. Prepping a Runex Auto oil filter takes just a minute, but makes all the difference.
Gasket Lube
The rubber sealing ring must glide into place—not grind. A dry gasket can tear or roll, leading to leaks. Use a finger to apply a small amount of clean oil around the entire ring.
Pre-Filling the Filter (Where Possible)
Some vertical-mount filters allow pre-filling. This reduces the time it takes for oil pressure to build at startup. Horizontal filters usually can’t be pre-filled without spilling.
Runex oil filters have optimized flow channels, so even without pre-fill, oil reaches the engine fast—but where possible, pre-fill still gives you a head start.
Thread Check
Make sure the threads are undamaged and clean. Cross-threading9 is a silent killer. Even the best filter can’t fix a bad fit.
| Prep Step | Reason | Runex Design |
|---|---|---|
| Lube gasket | Prevents tearing | High-flex rubber for consistent seal |
| Pre-fill10 | Faster oil pressure | Anti-drain-back valve ensures retention |
| Thread check11 | Prevents misalignment | Precision-threaded bases |
Once, I helped a rural workshop that had multiple startup rattle complaints. We traced it to dry-start conditions because they weren’t pre-filling filters on diesel engines. After adding that step, the rattle disappeared.
Conclusion
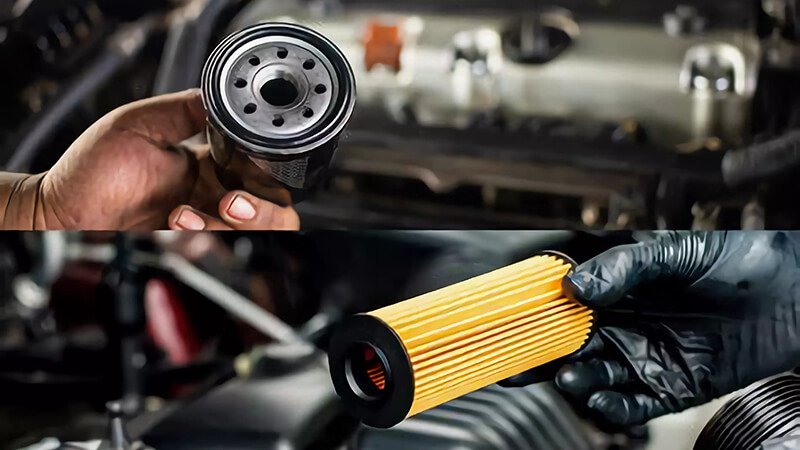
Installing a new oil filter12 isn’t complicated, but it’s precise. Every step—from removing the old gasket to tightening by hand—matters. I’ve seen how a small oversight can cause big problems. But I’ve also seen how simple habits, like checking the gasket and lubricating the seal, can improve fleet reliability, reduce complaints, and protect engines.
At Runex Auto, we build filters that perform. But they need your hands to install them right. Trust the process, respect the part, and your engine will thank you.
-
Explore this link to learn expert tips and best practices for installing Runex Auto oil filters effectively, ensuring optimal performance and preventing leaks. ↩
-
Understanding the issues caused by double gaskets can help you avoid costly mistakes and ensure a proper seal during oil filter installations. ↩
-
Discover the importance of cleaning the engine surface and techniques to ensure a solid seal, preventing leaks and engine damage. ↩
-
Understanding the best practices for oil filter installation can enhance performance and reliability, ensuring your vehicle runs smoothly. ↩
-
Proper gasket installation is crucial for preventing leaks and ensuring a secure fit, which is vital for engine health. ↩
-
Exploring factors that affect seal integrity can help you maintain optimal engine performance and prevent costly repairs. ↩
-
Explore the advantages of Runex oil filters to ensure optimal engine performance and longevity. ↩
-
Understanding the right engine oil for your vehicle can enhance performance and protect your engine. ↩
-
Understanding cross-threading is crucial for maintaining engine integrity. Explore this link to learn effective prevention techniques. ↩
-
Pre-filling oil filters can significantly enhance engine performance. Discover the benefits and best practices in this informative resource. ↩
-
A proper thread check is essential for preventing misalignment. Learn the steps to ensure your engine components fit perfectly. ↩
-
Know the best OEM Auto Oil Filter from Runex Auto. ↩

